Rain Barrel Webinar on 4/29
Register for a free rain barrel webinar on Wednesday, April 29, 6:00-7:30pm.
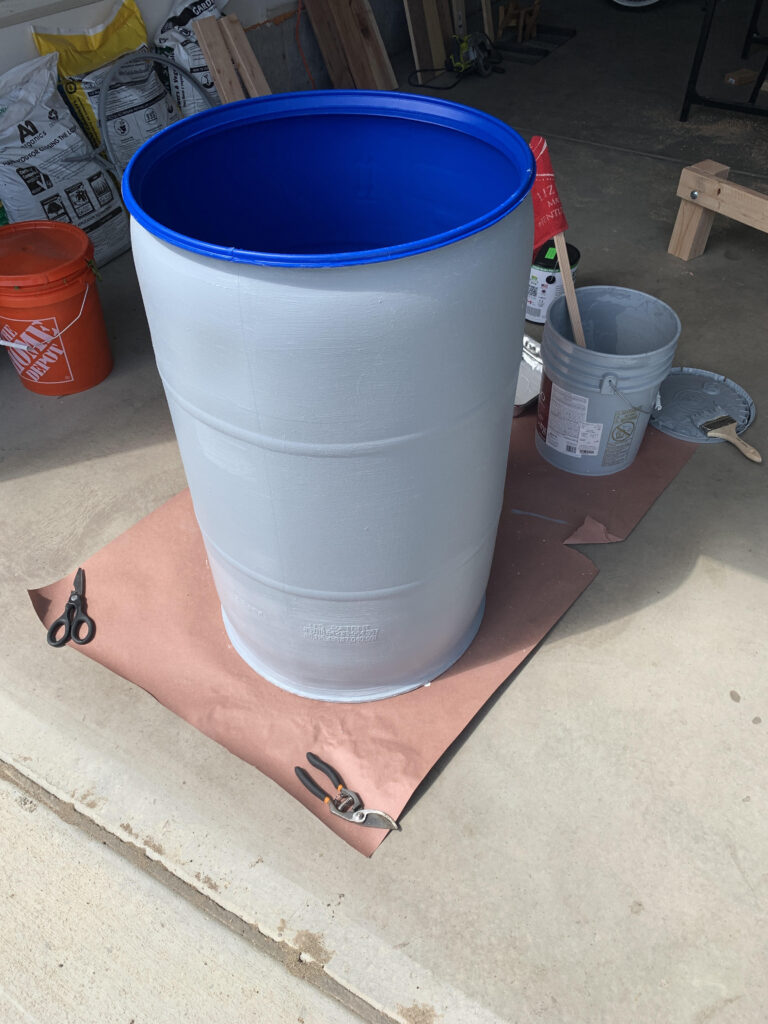
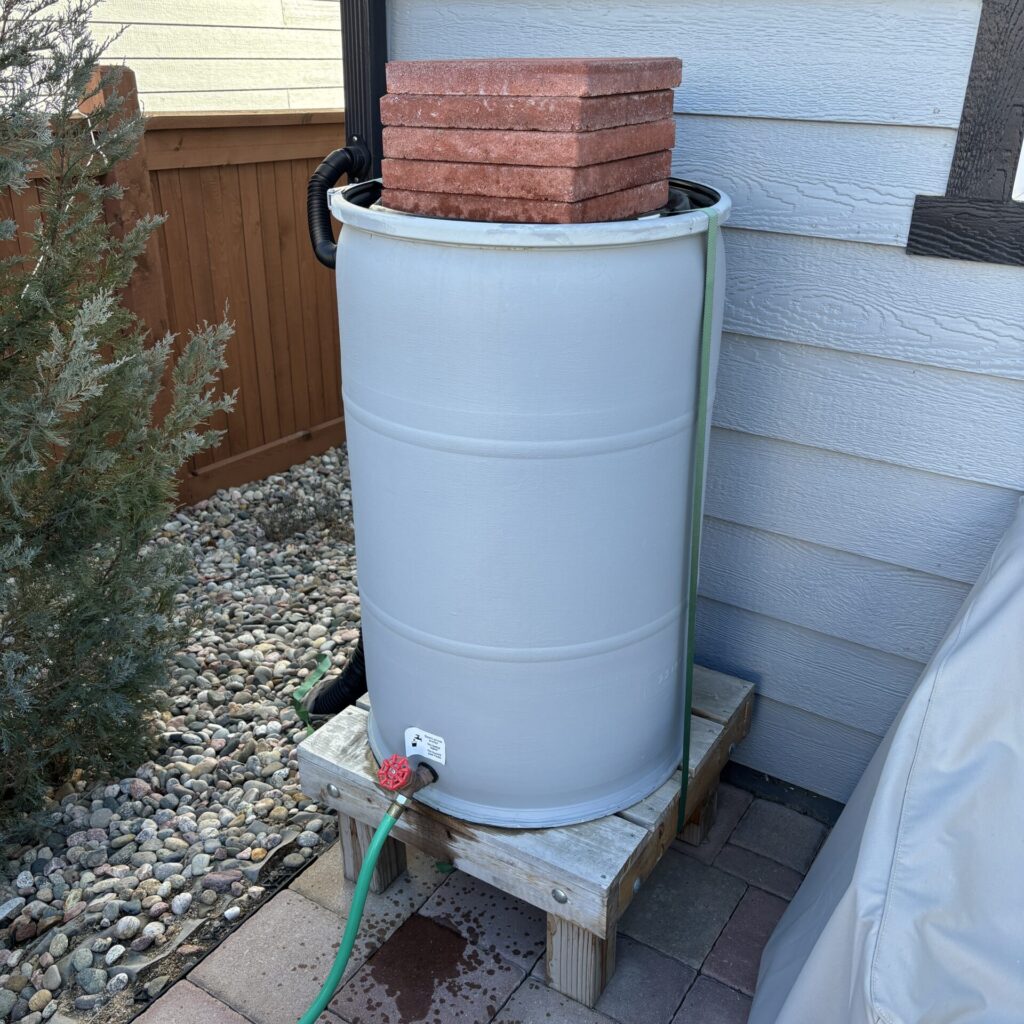
This webinar will teach you how to choose, install, and maintain a rain barrel. We will also cover important information about the guidelines around rainwater harvesting in Colorado and have plenty examples of what an installed rain barrel looks like.
Registration is free but required – register now for this rain barrel webinar. This webinar only includes a presentation – no rain barrels or installation kits will be distributed as part of this virtual event.
After registering, you will receive a confirmation email containing information about joining the webinar.
Check out the rain barrel FAQ and Installation Guide on this page. You will find links to local vendors, tips on choosing a location for your barrel, and a step-by-step guide to installing your 55-gallon barrel and installation kit.